January 2, 2026

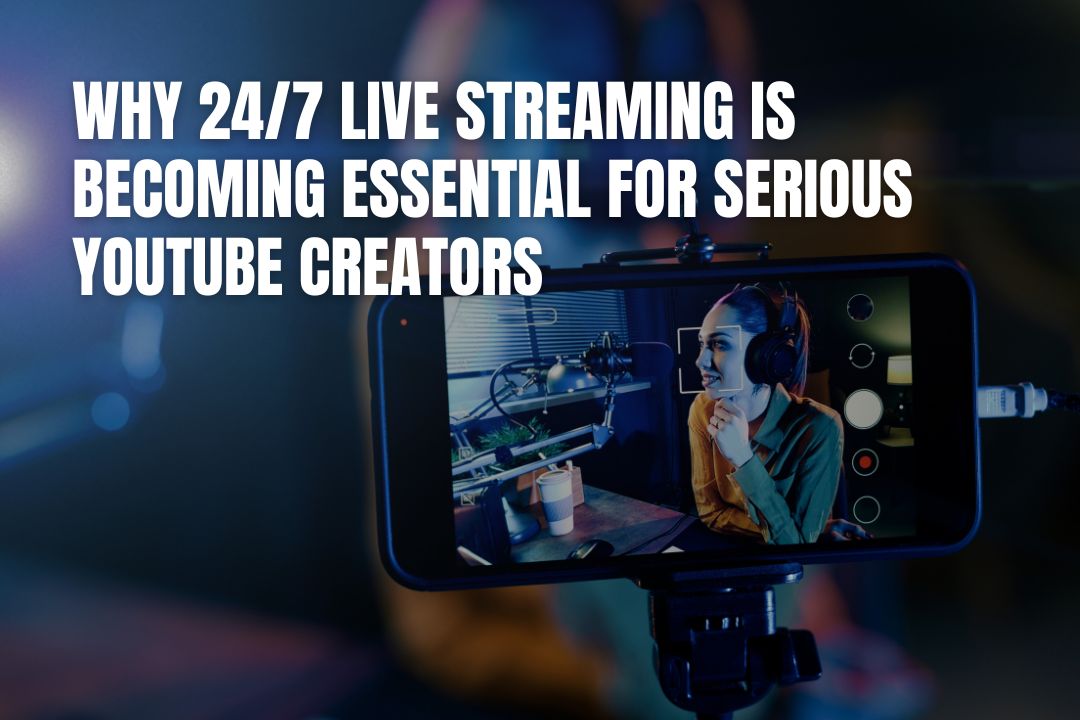
Live streaming and virtual events have become an important part of teaching and connecting. Because of this, optimizing your AV setup has become an important factor in how professional and engaging you appear.
Clear audio and proper lighting can make your presentation more engaging. The good news is that optimizing your AV setup doesn’t require expensive studio gear. What you actually need is a few smart adjustments to provide a polished and reliable virtual session.
Let’s take a look at how to optimize your AV setup in this article.

Before you try to upgrade anything else, check your microphone quality. Viewers may tolerate slightly soft video, but they can be very distracted by unclear or distorted video.
Many people who engage in virtual sessions use their laptops. But built-in laptop microphones are built for convenience. They’re usually of lower quality and provide poorer audio.
Upgrading your microphone can help with how viewers perceive you. For example, a USB condenser microphone can be a simple yet effective upgrade. It connects directly with your computer and doesn’t require technical setup.
It’s a simple upgrade that captures your voice with greater clarity and depth. It helps listeners pay attention because your speech sounds fuller and more natural.
Most people who live stream think that buying a new camera is the best way to improve their setup. In reality, however, it’s better to take a closer look at your lighting. In most cases, poor quality isn’t caused by the camera; rather, it’s because of insufficient or poorly positioned light.
Cameras can capture the best video when you have good lighting, and natural light is one of your easiest and most flattering options. To take advantage of natural light, try to position yourself facing a window. It’s important to make sure that the light is in front of you, and not behind you.
In case it’s hard for you to access natural light during your virtual session, you can use a ring light or softbox. Use this at eye level to reduce harsh shadows under your eyes and chin.
You might not think that camera placement is an important detail. However, it’s actually crucial in improving how professional you look on screen. Where you place the camera can make a difference in your posture or eye contact. Even your level of authority can be affected when you have the right camera position.
There are many ways to make sure that your camera is at eye level. First, if you’re using a laptop, raising it with a stand or a stack of sturdy books is a simple fix.
Framing is also important for live streaming. A mid-chest to head shot is typically ideal for webinars and virtual classrooms. Leave a small amount of headroom above you, but avoid excessive space that makes you look distant or poorly centered.
Your background can make a lasting impression on your viewers. Before you speak a single word, viewers make quick judgments based on what they see behind you.
This becomes even more important when using interactive AV solutions for hybrid learning environments, where your physical classroom and digital space must work together seamlessly.
There are a few simple steps to make sure that you have a clean setup. First, when live streaming, check which parts of your background are caught on camera and tidy them up. There’s no need to create a staged studio, but it’s important to remove distractions that can pull you away from your message.
Even if you have an excellent microphone and camera setup, failing to have the right platform settings can negatively affect your livestream.
Many platforms default to automatic settings, but these are typically recommended for general use. It’s best to take some time before your livestream and adjust the configurations to improve your audience’s streaming experience.
For example, if your upload speed can handle it, set your resolution to 1080p. Higher resolution improves clarity and slide readability, but forcing it on a weak connection can cause lag or dropped frames.
Match your bitrate to your actual upload speed. Too high leads to buffering and freezing, while too low results in pixelated video. Leave some bandwidth headroom for stability rather than maxing it out. Finally, enable echo cancellation in your streaming software to reduce feedback and background noise.
There’s no need to do a full studio overhaul when optimizing your AV setup. Small and intentional improvements can already do a lot and improve the quality of your live streams.
The suggestions above are just some of the many ways you can make sure that your technology works smoothly. Remember to take the time to check everything twice before you go live and make adjustments as needed. With a well-optimized AV environment, you can create a more professional and impactful online experience.
You should upgrade your microphone first. Clear audio is more critical for audience engagement than perfect video. Viewers are often distracted by poor sound quality, so investing in a good USB microphone is a smart first step.
No, you don't need expensive equipment. The best light source is often natural light, so try facing a window. If that is not an option, an affordable ring light or softbox can dramatically improve your video quality by providing even, flattering light.
A simple way to position your camera at eye level is to place your laptop on a stand or a stable stack of books. This small adjustment helps you maintain good posture and create a more direct connection with your viewers.
You don't need a perfect studio. The main goal is to remove distractions. Tidy the area that will be on camera, ensuring it is clean and uncluttered. A simple, neat background is more professional than a busy or messy one.
Default settings are designed for general use and may not be ideal for your specific setup. Manually adjusting settings like resolution and bitrate to match your internet speed can prevent common issues like buffering and pixelated video, giving your audience a much smoother viewing experience.
